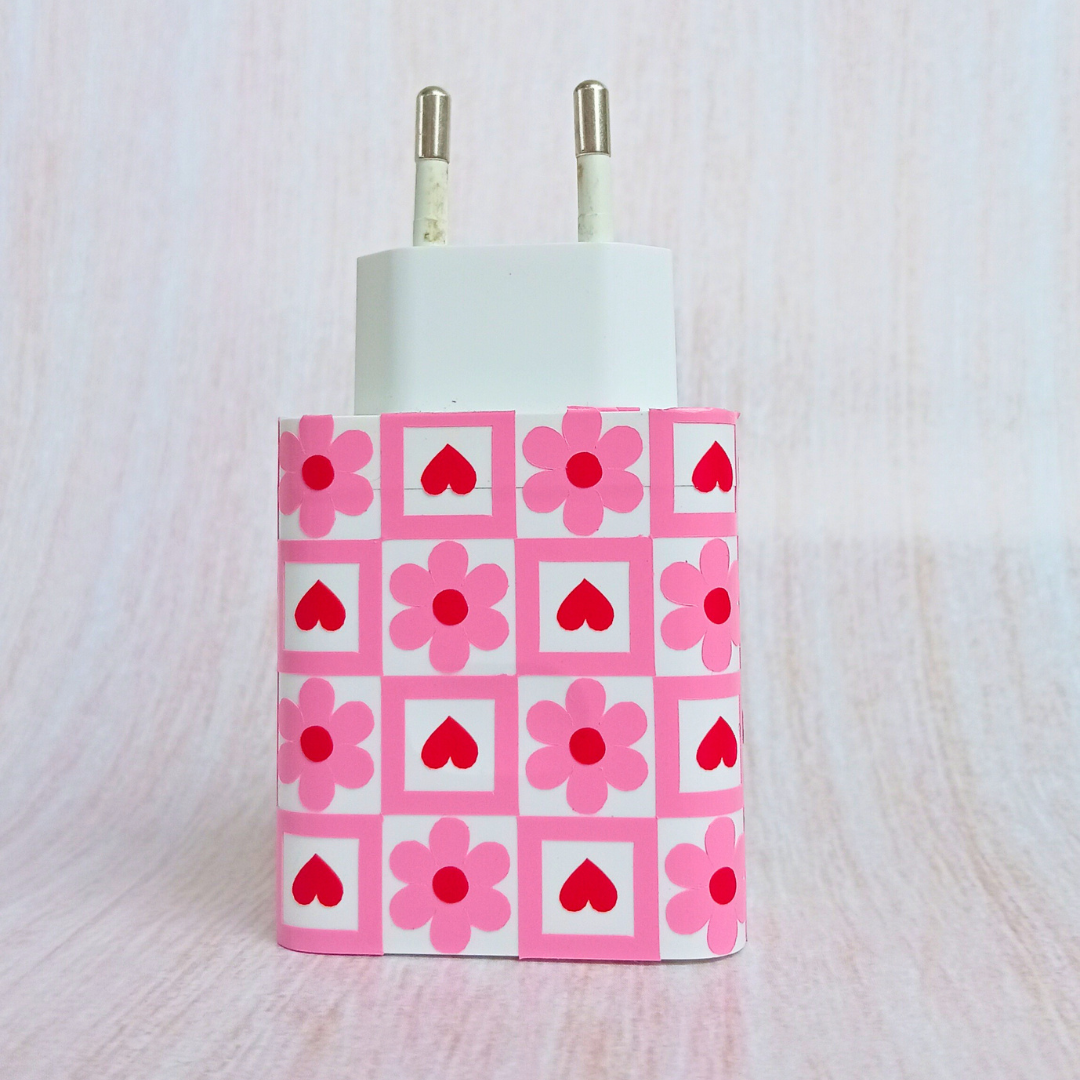
Give your phone charger a unique touch with this easy DIY Charger Decoration project! Using the Charger Decoration SVG Template and your LOKLiK iCraft cutting machine, you can create a stylish and personalized charger wrap in just a few steps.
🛠️ Materials Needed:
✅ LOKLiK iCraft cutting machine
✅ Charger Decoration SVG Template (uploaded to LOKLiK Studio)
✅ Adhesive vinyl or sticker paper (your choice of color/design)
✅ Cutting mat
✅ Weeding tool
✅ Transfer tape (if using vinyl)
✅ Scissors (optional)
📌 Step-by-Step DIY Charger Decoration Tutorial:
1️⃣ Upload the SVG to LOKLiK Studio
- Open LOKLiK Studio on your computer.
- Click “Upload” and select the Charger Decoration SVG Template.
- Adjust the size to fit your charger if needed.
2️⃣ Prepare the Material
- Place your vinyl or sticker paper onto the cutting mat, ensuring it’s smooth and secure.
- Load the mat into the LOKLiK iCraft machine.
3️⃣ Cut the Design
- In LOKLiK Studio, select the material type (e.g., “Permanent Vinyl”).
- Adjust the cutting pressure and speed according to the material.
- Click “Start” to begin cutting.
4️⃣ Weed the Excess Vinyl
- Carefully remove the excess vinyl using a weeding tool to reveal the design.
5️⃣ Apply the Decoration
- If using sticker paper, simply peel and apply it to your charger.
- If using vinyl, use transfer tape to lift the design, align it onto your charger, and smooth it down.
- Press firmly to ensure it sticks well.
6️⃣ Enjoy Your Personalized Charger!
- Your charger is now easy to recognize and stylish! Perfect for preventing mix-ups at family gatherings or events.
🎨 Extra Tips:
✨ Use holographic or glitter vinyl for a unique look!
✨ Add a name or initials to make it even more personalized.
✨ Match the design with your phone case for a coordinated style.
Now, your charger is not just functional but also stylish and unique! Enjoy crafting! 🎨✨
